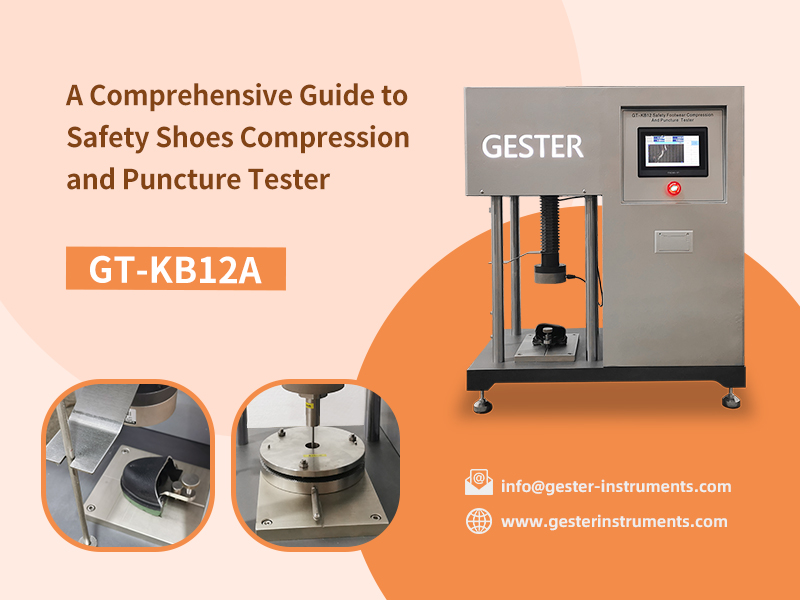
In high-risk workplaces like industrial production sites and construction zones, safety shoes serve as critical protective gear to prevent foot injuries. The Safety Shoe Compression and Puncture Tester GT-KB12A is designed to verify whether safety shoes comply with national and industry safety standards.
Here's everything you need to know about the Safety Shoe Compression and Puncture Tester.
The Safety Shoe Compression Tester is a specialized device for testing the compression resistance of the toe cap and the puncture resistance of the steel center plate of safety shoes.
It simulates extreme working environments such as heavy compression or puncture by sharp objects, and accurately applies preset pressure and puncture force to verify whether the safety shoes comply with the requirements of national and industry standards on protective performance.
Product Principle:
The steel head of the safety shoes is placed between the upper and lower pressure plates of the machine, and the prescribed pressure is applied, and then the degree of subsidence of the steel head is detected, in order to understand whether the safety of the toes can be ensured when wearing the shoes.
Product structure:
1, the upper plate (hydrostatic) and test nails (puncture) electric lift down.
2、The lower plate is connected with high-precision specialized pressure sensor (static pressure, puncture).
3、LCD liquid crystal display * strong force value (static pressure, puncture).
Note: There is no time requirement in the static pressure and puncture test of safety shoes, but mainly the test and requirement of force value.
Foot injuries account for a significant proportion of all types of workplace accidents. Rigorous testing using the GT-KB12A Compression and Puncture Testercan:
Verify that safety shoes comply with industry safety standards
Prevent potential workplace accidents
Help companies avoid legal risks caused by unqualified protective equipment
Provide reliable data support for safety shoes research and development
Install and secure the upper pressure plate.
Align the lower clamp's primary screw with the base hole (select hole position based on shoe size) and fasten it.
For deformation testing: Insert a clay cylinder inside the toe cap before compression, then measure height changes post-test to calculate deformation.
If you want to test the deformation of the safety shoes, you can put a cylindrical clay inside the toe cap, and calculate the deformation by measuring the change of the height of the cylindrical clay before and after the test (complete test will not be demonstrated this time).
Parameter Setting
Please click [Setting] to enter the parameter setting interface.
Start the test
Set the parameters and click [Test_INF] to return to the test interface.
When [TEST] turns white, it indicates that the test is completed and automatically stops.
Click [OPEN] to view the test results, and click [PRINTAL] to print the results.
Click [UP] to rising pressure plate and take down the sample for observation.
Mounting fixture and sample
Lower fixture for puncture test (inner diameter 25mm), choose the right size according to the standard requirements.
Remove upper gland by loosening 3 nuts.
Align base's locating pins and mount onto workbench.
Center sample, replace upper cover, and tighten nuts.
Parameter Settings
Please click [Setting] to enter the parameter setting interface.
Start test
Return to test interface, reset ([ZERO]), start ([TEST]).
Automatic stop upon completion.
Click [OPEN] to view the test results, and click [PRINTALL] to print the results.