How to Conduct the Sole Abrasion Resistance Tester GT-KA13
The Sole Abrasion Resistance Tester GT-KA13 is an essential tool for evaluating the durability and wear resistance of finished shoe soles or molded sole pieces. It helps manufacturers ensure that their footwear meets quality standards and withstands real-world conditions. This guide will walk you through the detailed process of operating the Sole Abrasion Resistance Tester , ensuring precise results and consistent testing performance.
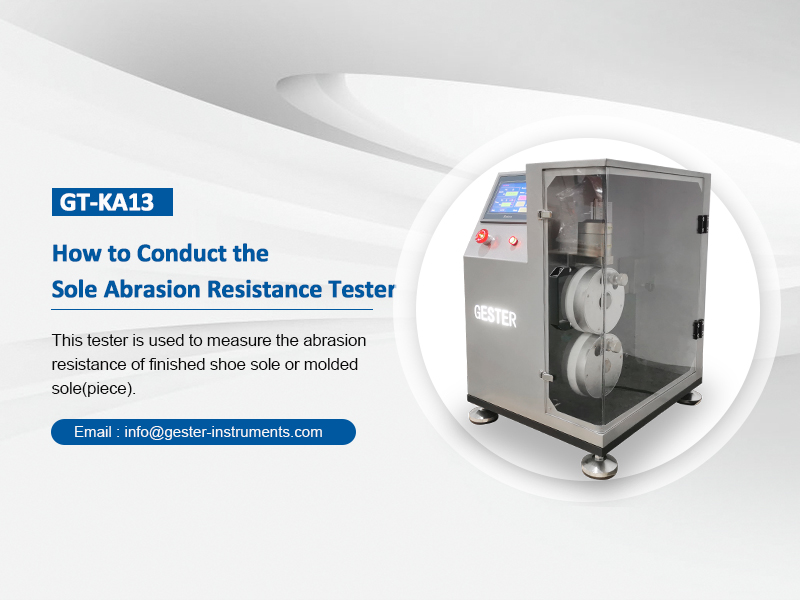
Introduction to the Sole Abrasion Resistance Tester GT-KA13
The Sole Abrasion Resistance Tester simulates real-world conditions by applying controlled friction to the sole of the shoe. The results help determine how well the material can resist wear and tear.
Step 1: Powering the Machine
Before you begin, the tester must be properly powered. Here’s how to prepare the device for operation:
Plug in the power source: Ensure that the tester is connected to an AC220V power outlet.
Turn on the power switch: Flip the power switch to the "on" position.
Engage the emergency stop switch: Press the emergency stop switch to reset any previous operations, ensuring the machine is ready to start fresh.
Once the machine is powered, you're ready to move on to sample installation.
Step 2: Sample Installation
Correctly installing the sample shoe sole is key to obtaining accurate test results. Follow these steps:
1. Remove the fixing sleeves: Take off the left and right fixing sleeves of the scales to prepare the device for the sample.
2. Fit the sample into the shoe last: Carefully insert the sample shoe into the shoe last, ensuring it is firmly in place.
3. Balance the scales: Add weights to the right balance tray. The goal is to achieve equilibrium, so use the left and right adjustment knobs for fine-tuning until the balance pointer aligns with the red line in the center of the dial.
4. Adjust the friction head: Use the front/back and left/right steering wheels to position the friction head horizontally. Then, fine-tune its height using the up/down steering wheels until it lightly touches the specific area of the sole that you want to test.
5. Add the 500g weight: Place a 500g weight on the right balance tray. This ensures consistent pressure is applied during the test.
Proper sample installation ensures that the test is conducted under the correct conditions, producing reliable results. Now, it's time to set up the testing parameters.
Step 3: Parameter Setting
1. Activate the test interface: After engaging the emergency stop switch, tap on the "English" button to enter the main test interface.
2. Select the testing mode: You can choose between two modes—Timer and Counter. For this guide, we will use the Timer mode, which allows you to specify the test duration.
3. Set the test duration: Click on the "Timer Set" section (0H 00M 00S) to input the desired testing time in hours, minutes, and seconds. Adjust the time according to the test requirements.
4. Return to the test screen: After setting the duration, return to the main testing interface.
5. Clear the settings: Click on the "Zero" button to reset any previous measurements, ensuring a fresh start for the current test.
6. Start the test: Press "Start" to begin the test. The friction head will begin moving, simulating real-world abrasion on the sole material.
7. Adjust the test speed: The screen displays the friction head's speed. If necessary, adjust the speed using the black knob at the bottom of the screen to match your test specifications.
With these settings in place, the tester will perform the abrasion test according to the configured parameters. The machine will operate until the set duration is complete.
Step 4: Completing the Test and Measuring Results
1. Automatic stop: When the test duration has been reached, the tester will automatically stop.
2. Raise the friction head: Elevate the friction head to allow for the safe removal of the sample.
3. Remove the weights: Carefully take off the weights from the right balance tray.
4. Measure the abrasion area: Use a caliper to measure the width of the abrasion on the sole. This provides a quantitative assessment of the sole’s wear resistance.