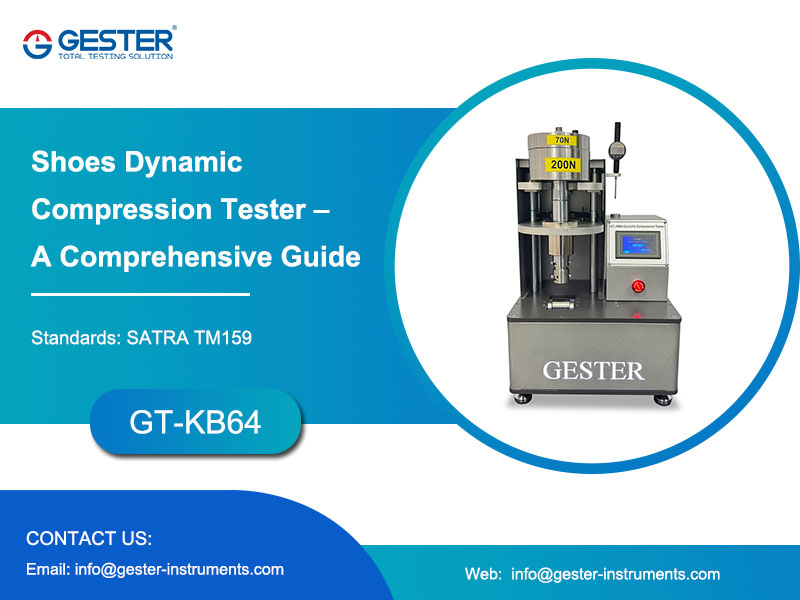
Shoes Dynamic Compression Tester – A Comprehensive Guide
Shoes Dynamic Compression Tester is used to test Resistance to dynamic compression of shoe sole materials. The changes in dimensions and in cushion energy of a specimen are measured after a prolonged period of dynamic compression.
Widely used in the R&D and quality control of athletic shoes, safety footwear, casual shoes, and other products.
Test Objectives: Evaluate sole material fatigue life (cycle count to failure), dynamic cushioning performance (energy return rate, peak impact force attenuation), and structural stability (crack propagation, delamination, permanent deformation).
Primary Functions
Evaluate Fatigue Resistance: Applies pressure values approximating those experienced by the foot during human jogging at a specified rate, simulating the repeated compression of materials under footwear wear. Tests changes in material thickness, performance, and appearance after a defined number of fatigue compression cycles.
Optimizing Product Design: Utilizes test data to understand performance degradation and surface damage in sole materials after prolonged use, providing scientific basis for footwear design, material selection, and production.
Investigating Fatigue Mechanisms: Studies fatigue damage mechanisms in sole materials, offering technical support for material improvement and optimization.
How to Use Shoe Sole Dynamic Compression Tester
Connect the power supply and turn on the power switch.
Turn on the emergency stop switch.
Click "Enter Test" .
Install the sample:
Remove the sample fixing rod and the sample fixing ring.
Attach the prepared sample to the bottom of the sample fixing rod.
Install the sample fixing ring and the sample fixing rod.
Click "Setup" .
Click "Reset" ,the test roller will automatically rotate to reset.
Click "Counter" to set the number of tests.
Click "Return" .
Click "zero" to clear the data.
Turn the handwheel counterclockwise to lower the lifting adjustment plate.
Until the surface of the test sample and the top surface of the balance mix are in contact.
Click "ZERO" to clear the value.
Rotate the handwheel again to lower until the dial gauge reading reaches 1mm, then stop rotating.
Click "Start" .
If something goes wrong during testing, press "Stop".
The machine will automatically stop running after reaching the set number of tests.


