Understanding Universal Tensile Testing machine: Feature, Operation
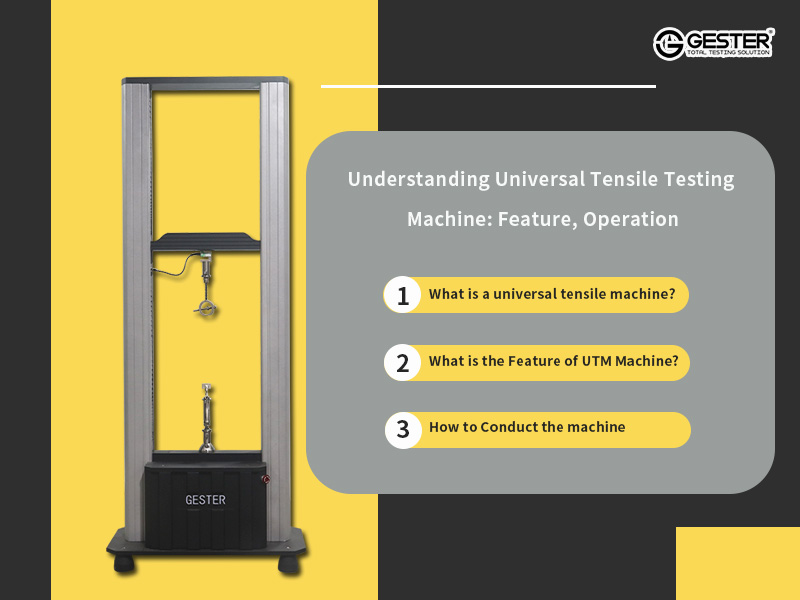
What is a Universal Tensile Machine?
This electronic universal testing machine is designed for conduct tensile, compression, bending, shearing, bonding strength, peeling, tearing and other tests for rubber, plastic, leather, metal, nylon line, fabric, paper, aviation, packaging, construction, petrifaction, electrician, vehicle and other materials. Universal material testing machine is a basic equipment of quality control, receiving inspection, physical test, mechanics research, material development.
What is the Feature of UTM Machine?
1. The power system: servo motor and servo drivers and worm gear and rod reducer and ball screw.
2. Control system: adopting Pulse Command control method, it will be more accuracy and easy to control.
3. The speed control range: 0.001-500mm
4. The intermediate plate adjustment is both fast coarse and slow fine-tuning.
5. it will return to original site and save automatically after testing.
6. Data transmission mode: RS232 transmission.
7. This universal tensile testing machine can realize constant speed, positioning, constant power, constant stroke control mode and multi-level control mode which can meet the test requirements of the ordinary.
8. Testing space: test width is 400 mm (standard)
9. All plate walking space: 1100 mm (excluding fixture, according to the customer requirements).
10. The entire displacement: the encoder is 1800 P/R, it can improve 4 times accuracy
11. Using the LINE DRIVE encoder strong anti-interference ability displacement resolution 0.001 mm.
12. Safety device: overload emergency stop device, up and down stroke limit device, leakage automatic blackout system, automatic break point stop function.
How to Conduct the Electronic Universal Testing Machine
Trial run
1. Use remote control to move the crossbeam up and down, and check if the crossbeam can move.
2. Move the lower limit below the crossbeam and then move the crossbeam downwards to check if the limit is working.
3. Check the upper limit using the same way.
Operation
1. Firstly, install the fixture and insert it into the base. Then, insert the plug and tighten the nut with a wrench. Adjust the fixture to the appropriate position and tighten the nut.
2. Install another upper fixture using the same way.
3. Adjust the distance of the fixtures to 250mm.
4. Install the sample: Please refer to the steps in the video to install the sample.
5. Close the protective cover and confirm on the software that the testing method is ASTM D6775. Confirm that the sample information is correct, click "ZERO", and then click "TEST" to start the test.
6. After the test is completed, observe the data and export the report.
7. Close range observation of the test.
8. Now demonstrate the installation of sensor for other ranges and other types of fixtures
9. Install a 5t to 1T adapters on the base.
10. Install a 250kg sensor at the joint of the crossbeam, remove the signal wire of the 5t sensor, and install the signal wire of the 250kg sensor.
11. Install pneumatic fixtures, please refer to the operation in the video and use the same way to install other types of fixtures.
12. Leave a certain distance between the fixtures and move the lower limit to the crossbeam to trigger it, ensuring that the fixtures will not collide.
13. Insert the pipe into the joint of the pneumatic fixture and connect compressed air to allow the pneumatic fixture to open and close normally.
a