Experimental instrument: Needle flame
testing-equipment' target='_blank'>tester Scope of application: is suitable for lighting, low-voltage electrical appliances, household appliances, machine tool electrical appliances, motors, power tools, electronic instruments, electrical instruments, electrical connectors, accessories and other electrical and electronic equipment and its parts and components Research, production and quality inspection departments, as well as insulation materials, engineering plastics or other solid combustible materials industries, conduct small flame ignition source program simulation tests. Compliance with standards: GB4706.1, GB5169.5-2008, IEC60695-2-2IEC60695-11-5 and other related standards require experimental principles: needle flame tester is a needle burner with a specified size (Φ0.9mm). Specific fuel gas (butane) is used to ignite the test sample at a 45° angle. The ignition risk of the small flame caused by the fault condition inside the equipment is evaluated based on whether the test sample is ignited and the duration and combustion length. Needle flame tester experiment preparation: 1. This instrument is placed in a room with ventilation equipment (or in a small laboratory with a special ventilation hood), so that the exhaust gas can be discharged in time after the test. 2. Hang the two matching weights with copper wires (connected to the sample rack) through the two pulleys at the left end of the bracket plate (through the corresponding small holes) under the bracket plate. As shown in the figure: 3. Prepare and clamp samples according to standard requirements. 4. Proximity switch adjustment A. Loosen the nut that fixes the proximity switch so that it can move left and right; B. Press the 'Left' button, and the trolley will move forward automatically. When the test product touches the glowing wire head, use your hand Move the proximity switch to stop the trolley, and fix the proximity switch; C, press the 'heating' button, and adjust the current adjustment knob. According to the requirements of the sample, adjust the appropriate current value and see if the thermometer reaches the temperature required for the test. When the sample touches the glow wire, the limit electromagnet is released, and the sample can only move forward 7mm under the pulling force of 1N weight. (The distance can be adjusted) When the test of the glow wire tester is completed, pop the 'heating' button, and then turn the current adjustment knob to the minimum.
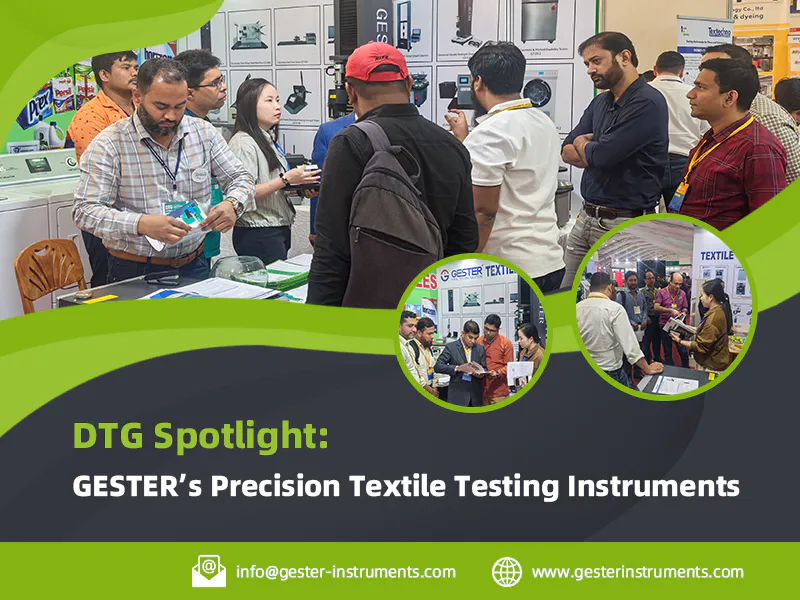
It isn't just about being on
textile testing equipment anymore–it's about maximizing the potential of the platform of manufacturing.
For more information on tensile tester manufacturers textile testing equipment and how to find the best quality at the right price, check out
GESTER Instruments.
Overall, textile testing equipment may be a great way for manufacturers to expand their use of technology, but the price could present a significant hurdle for some businesses.
textile testing equipment allows users to use in innovative ways that fit their individual needs, while at the same time providing cost-effective, reliable and user-friendly products.
As the full potential of tensile tester manufacturers lies in , the demand for is increasing globally, and is being adopted across the global market.